FLOURSACK I - CHARACTER DESIGN
1. FLOUR SACK - RESEARCH & DESIGN EXPLORATION
The Flour Sack is a time honors tradition in drawn animation because it forces the animator to focus on basic elements at the center of good character animation. These are line of action, pose, gesture and anatomy, without any of the complicated appendages that come with more sophisticated characters. The thinking behind the Flour Sack goes like this, "if you can create a believable performance without all the additional features (arms, legs, eyebrows, etc..), later on, when you have access to to those thing, your performance will only get better.
1. FLOUR SACK - RESEARCH & DESIGN EXPLORATION
Our first step is design our character. Sounds easy but there's actually a process that animators have honed over the years to design a character that will animate well. This is a great video by a former colleague of mine Phil Dimitriadis on the basics of designing a flour sack character.
Workflow:
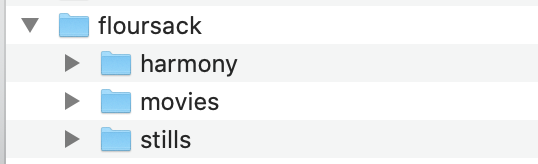
A. Create a Floursack Project Directory - You want to start with the following folders: harmony, stills and movies.
B. Pintrist Page - Create a Pintrist page consisting of at least 20 images that you can draw reference from in designing your character. Download you top three choices to you stills folder and post a link to your pintrist page on the #floursack Discord thread.
C. Character Turn-around - Open a new Harmony project and drawing your Flour Sack character in three positions. Front, Side 3/4 and Back view. Follow the steps in the Floursack Turn-around demo. When you are finished, Export a turn-around image and post it to the #floursack Discord thread.
2. ACTING RANGE - POSE AND EXPRESSION SHEETS
Now that we have a character let's take her for a spin to discover both her action and emotional range.
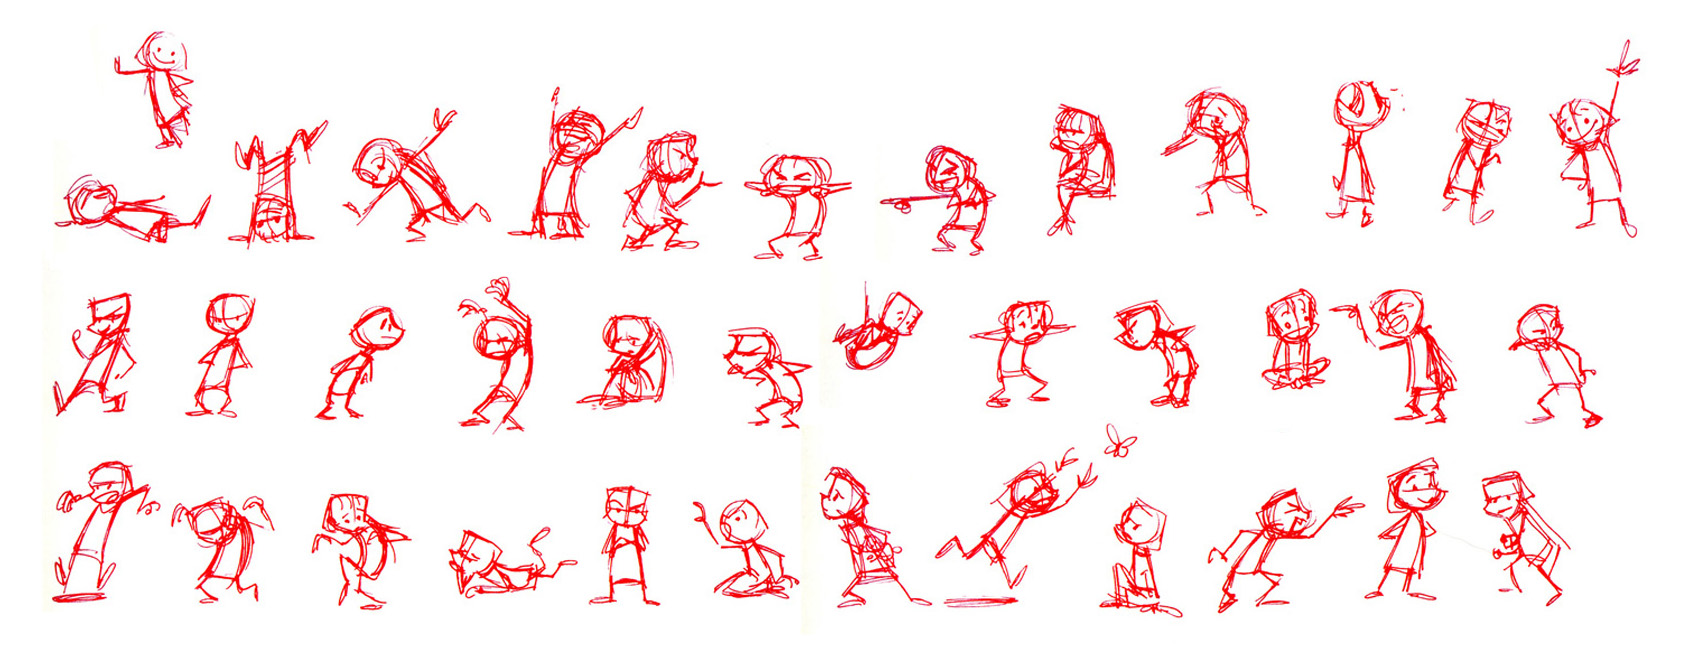
Pose Sheet: First, I'd like you to create a Pose Sheet consisting of at least a dozen thumbnail drawings, posing your character in action. This is a great way to get to know your character, capturing gesture and drawing the anatomy in very simple forms. Use the following categories to inspire your poses: General posing, action poses, interaction with objects and interaction with a small animal.
Work small on a single layer in Harmony. When your finished, use the select tool to arrange your pose drawings within the camera frame and export a layout image at 3860 x 2160 (200%) and then post it to the Discord #floursack channel.
File Name: simpsonB_poseSheet.jpg
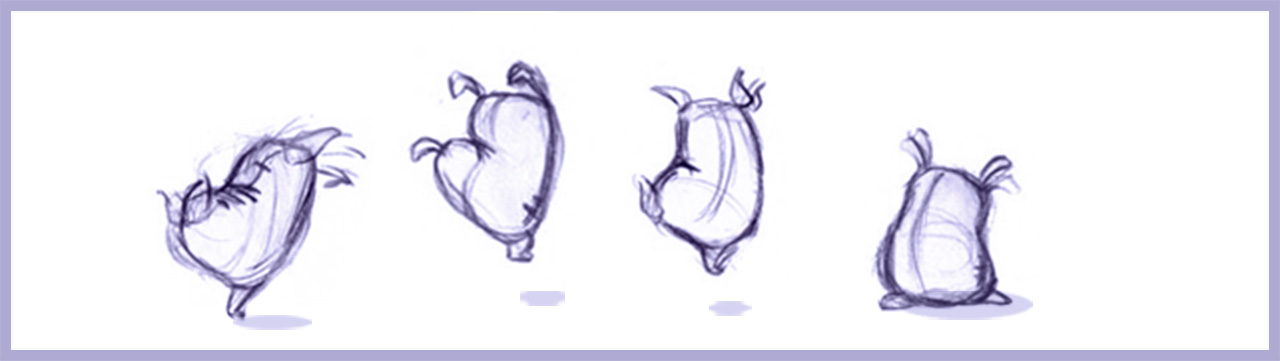
The example below is "Boo" from Monster's Inc. This is a perfect example of an animator taking Boo for a spin prior to animating.
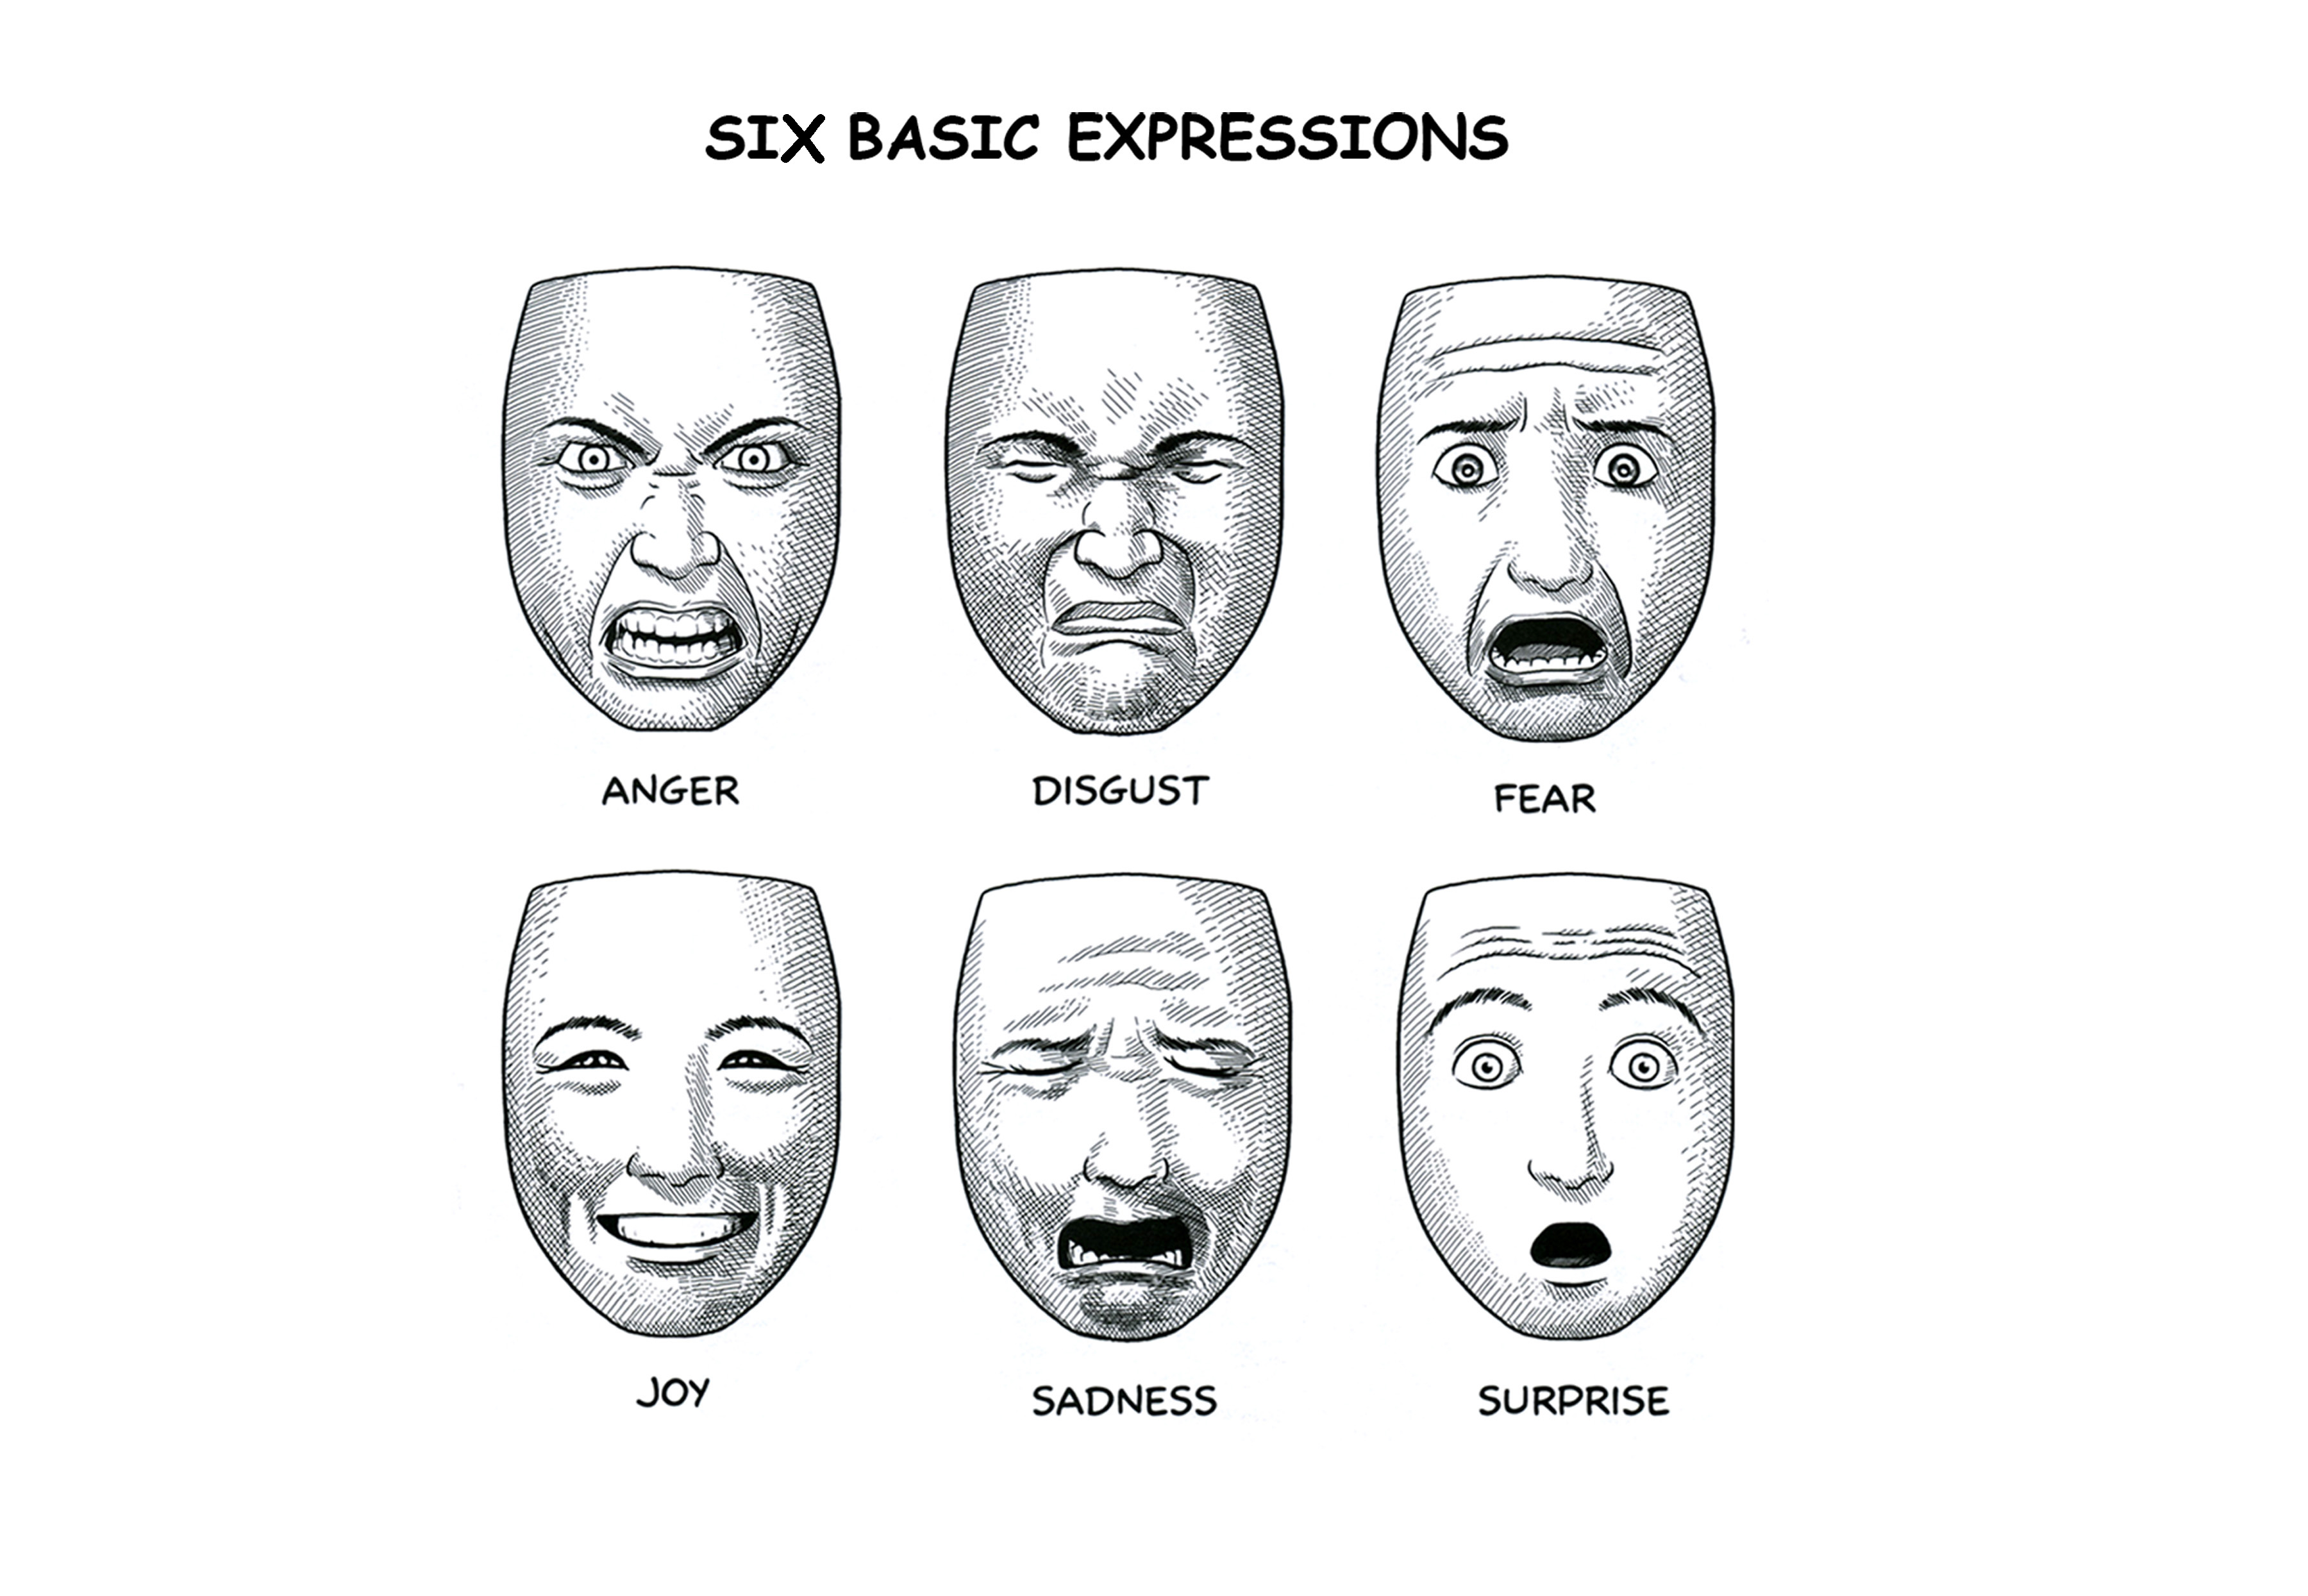
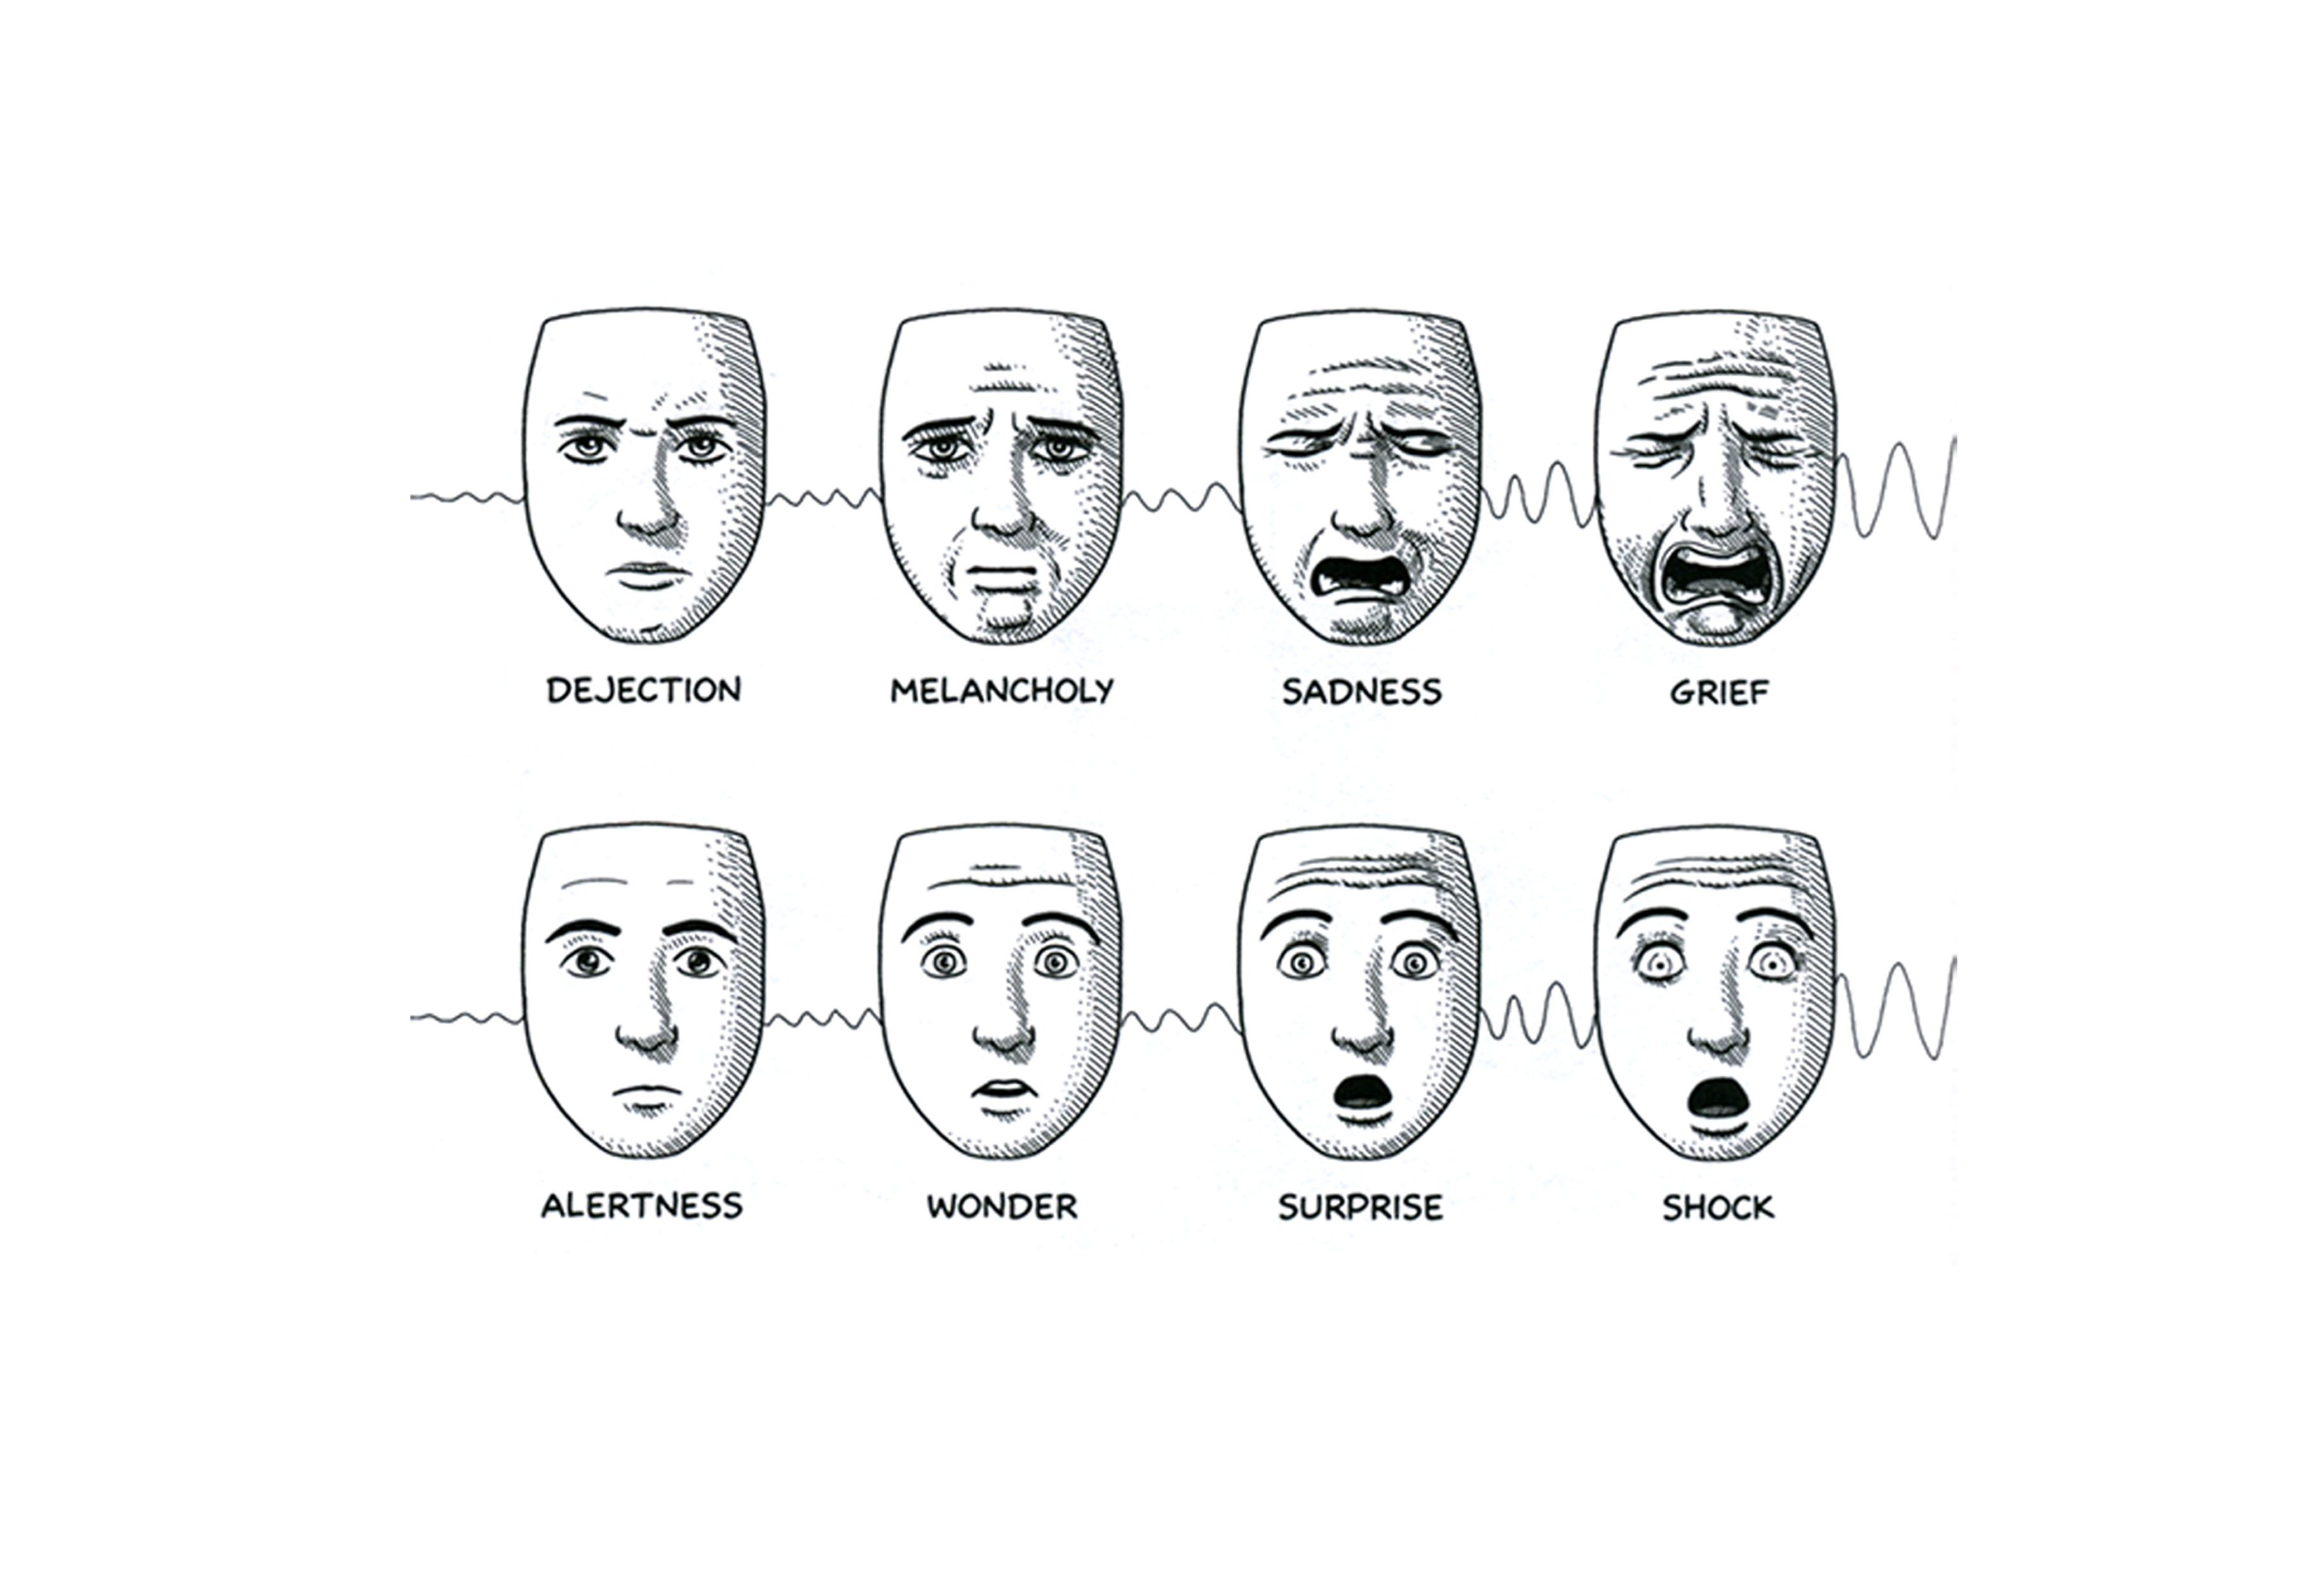
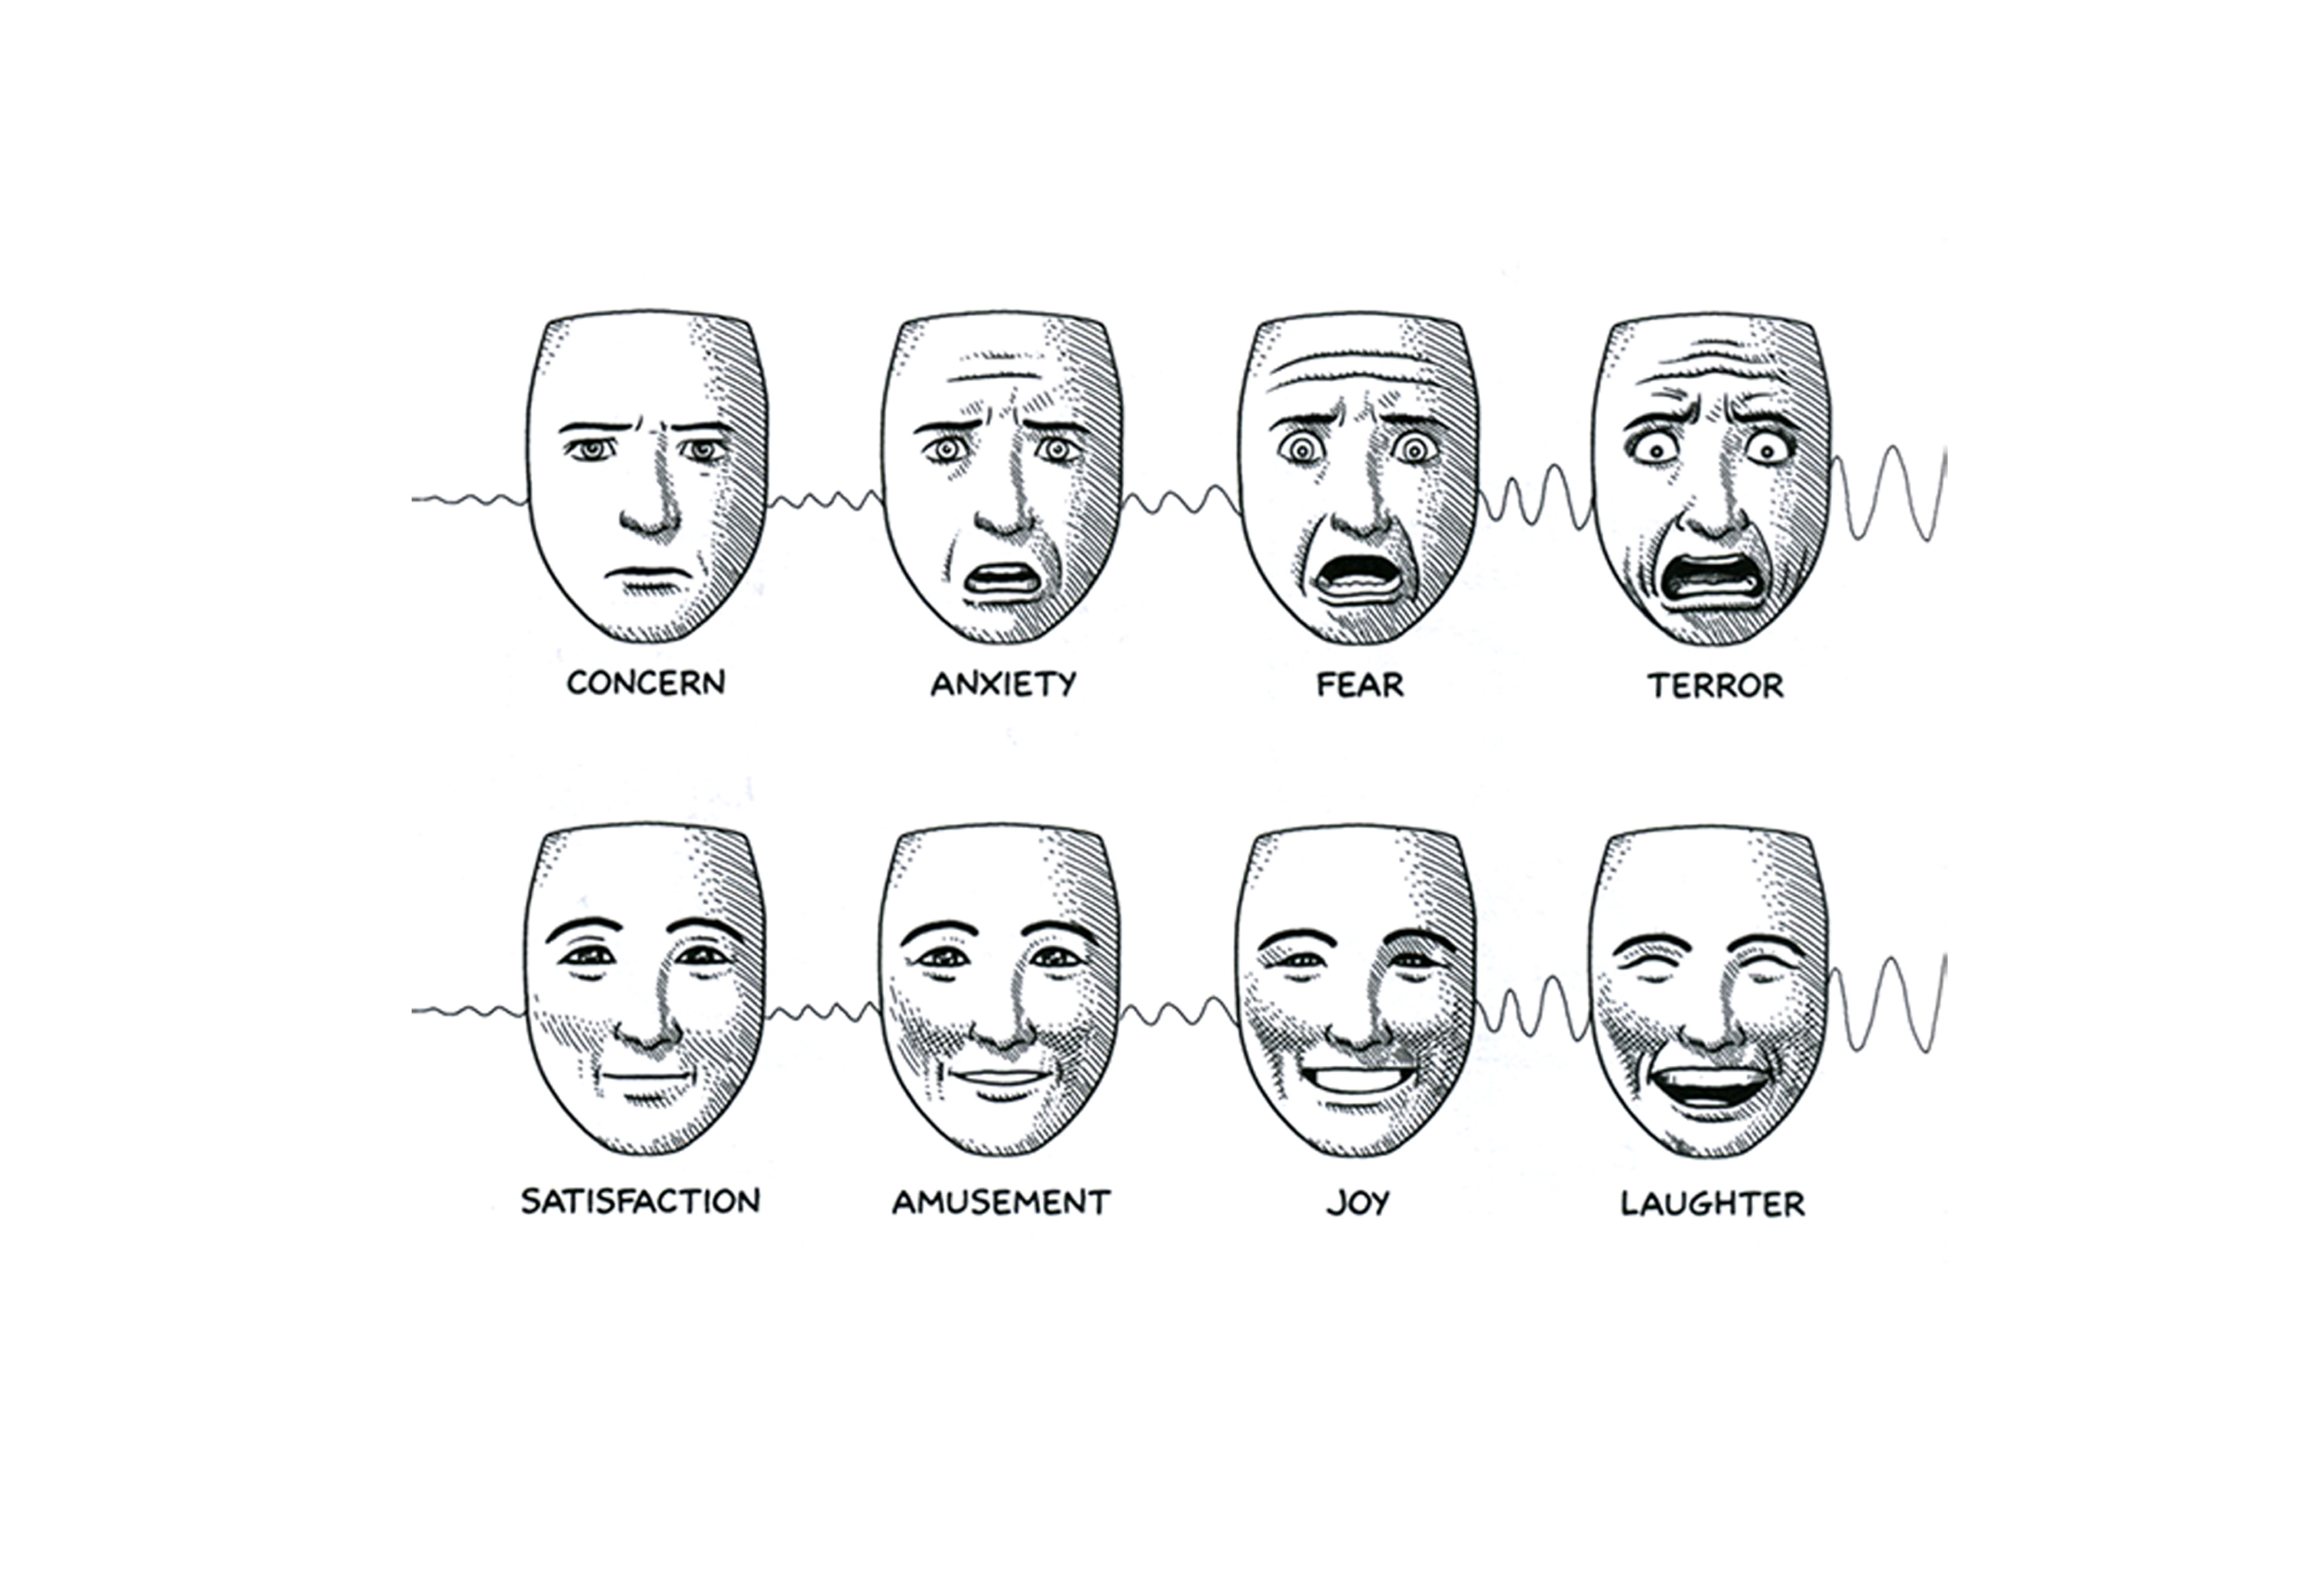
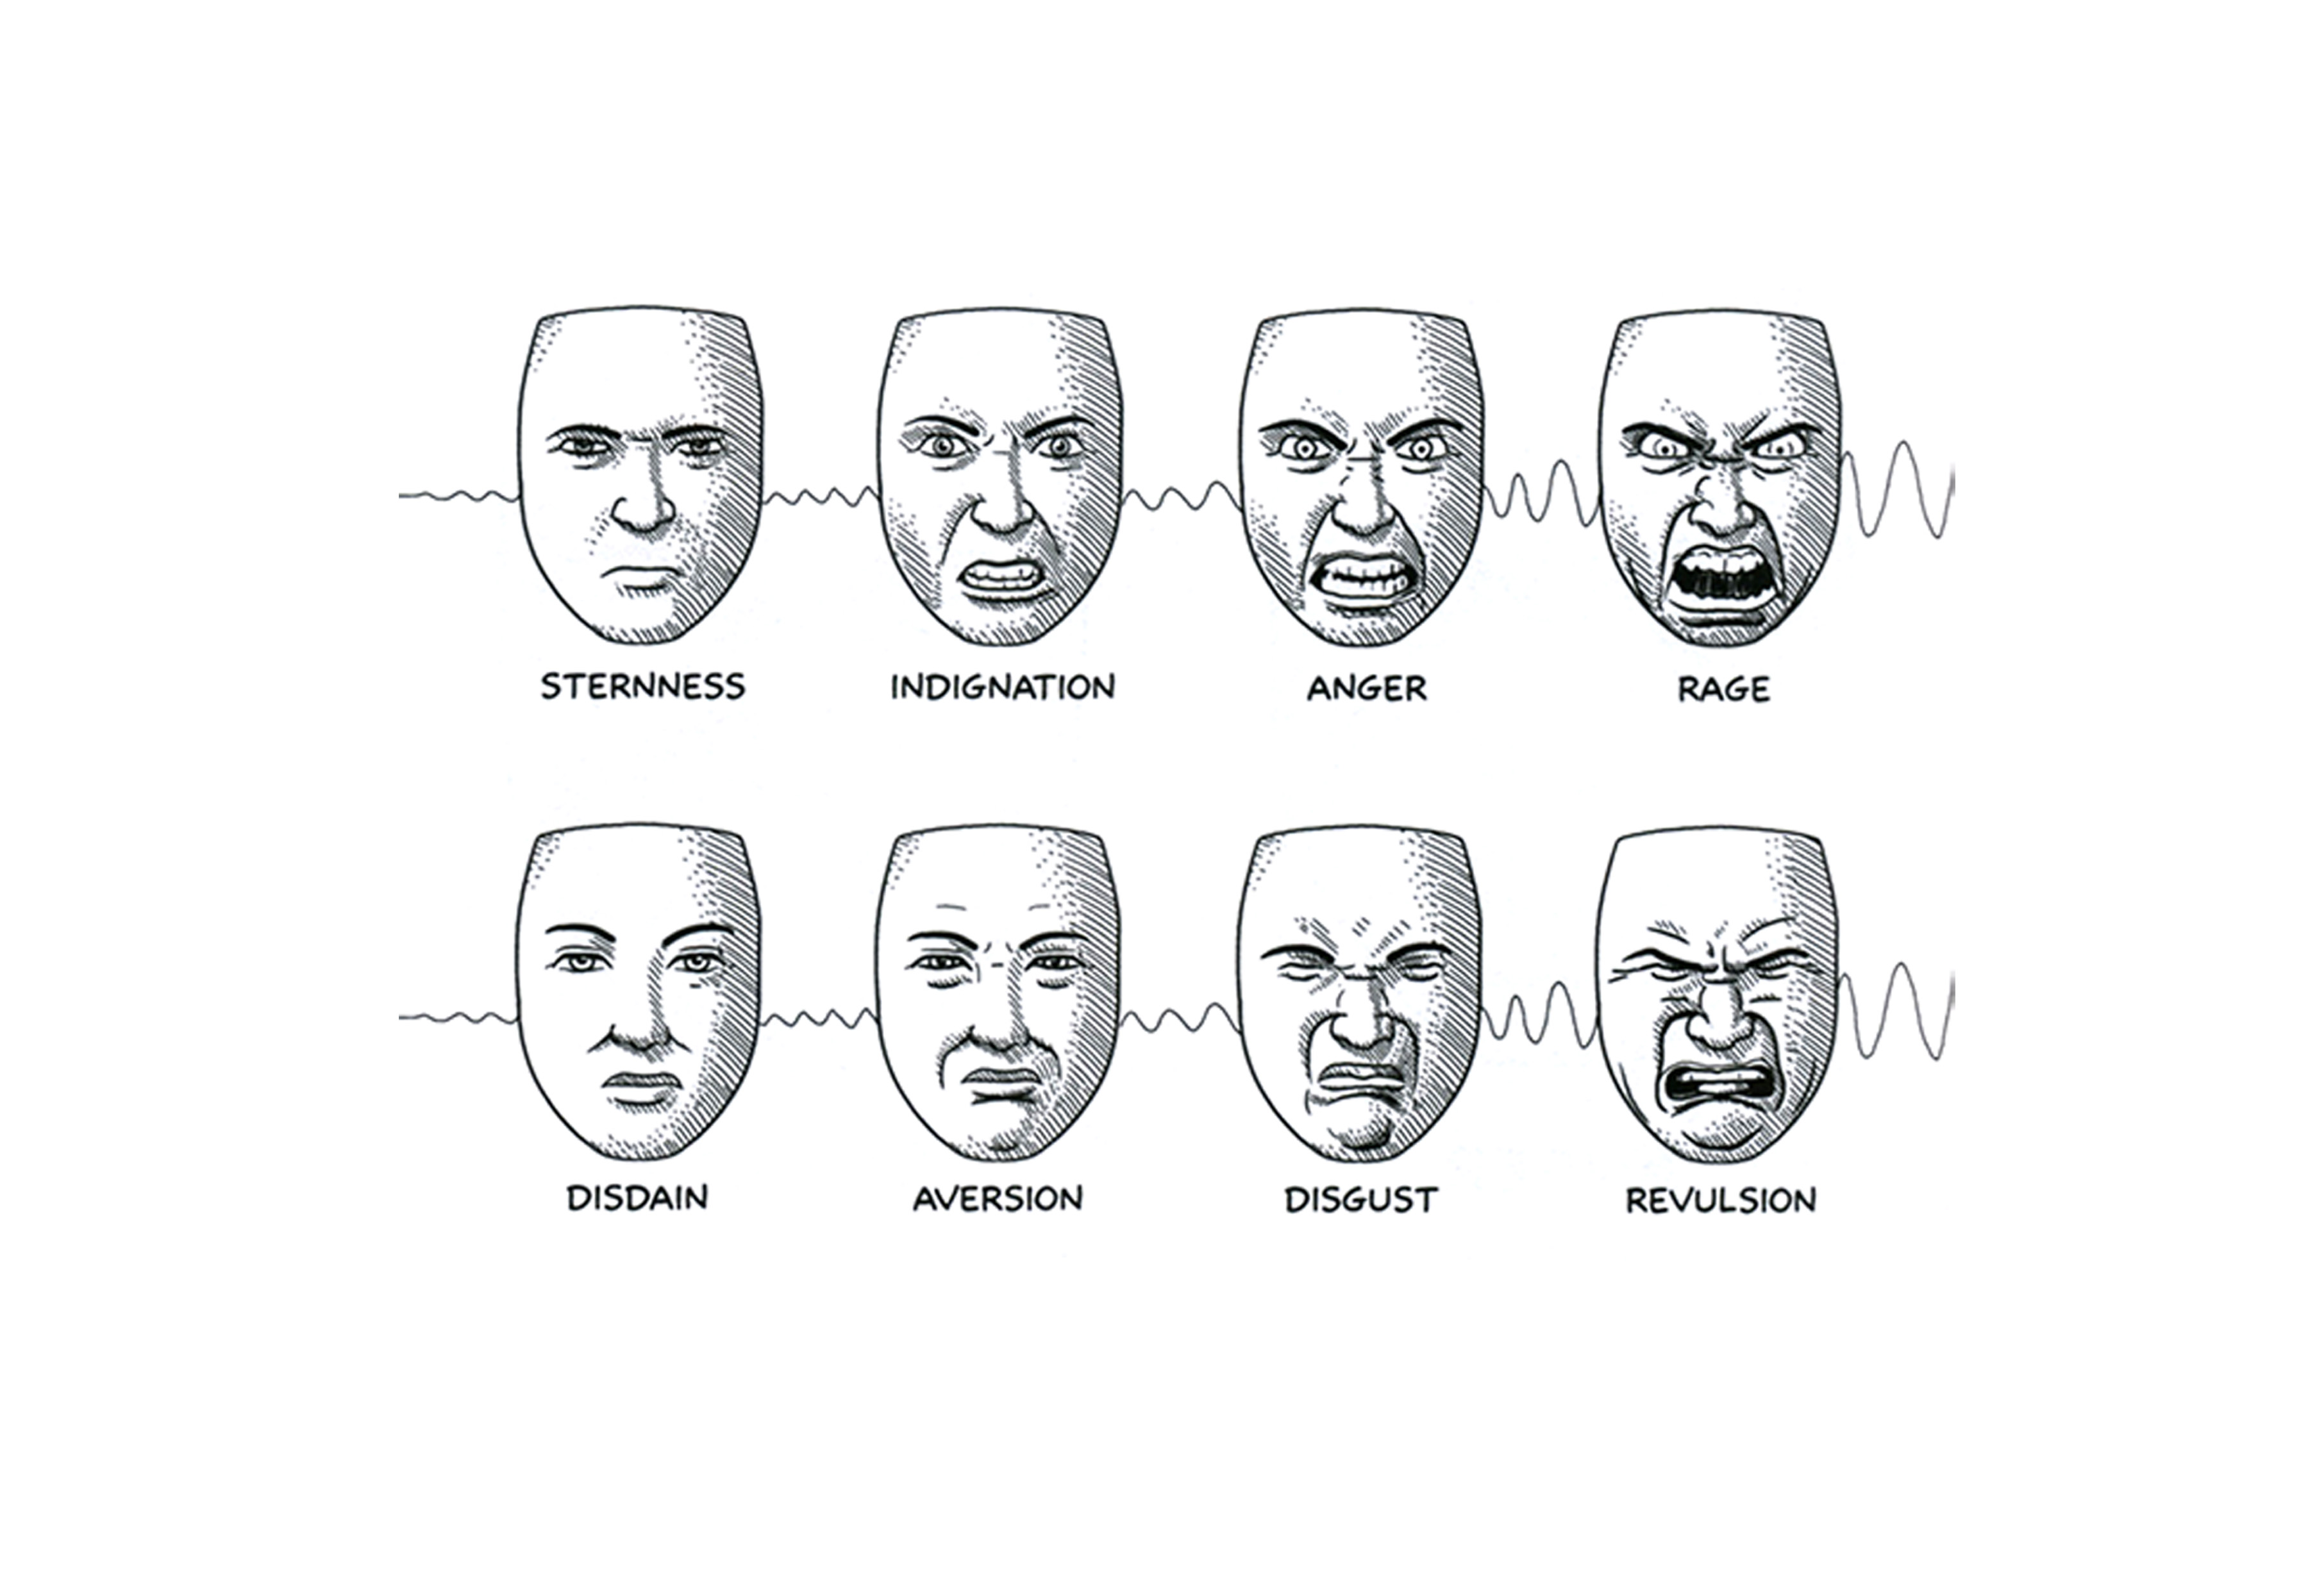
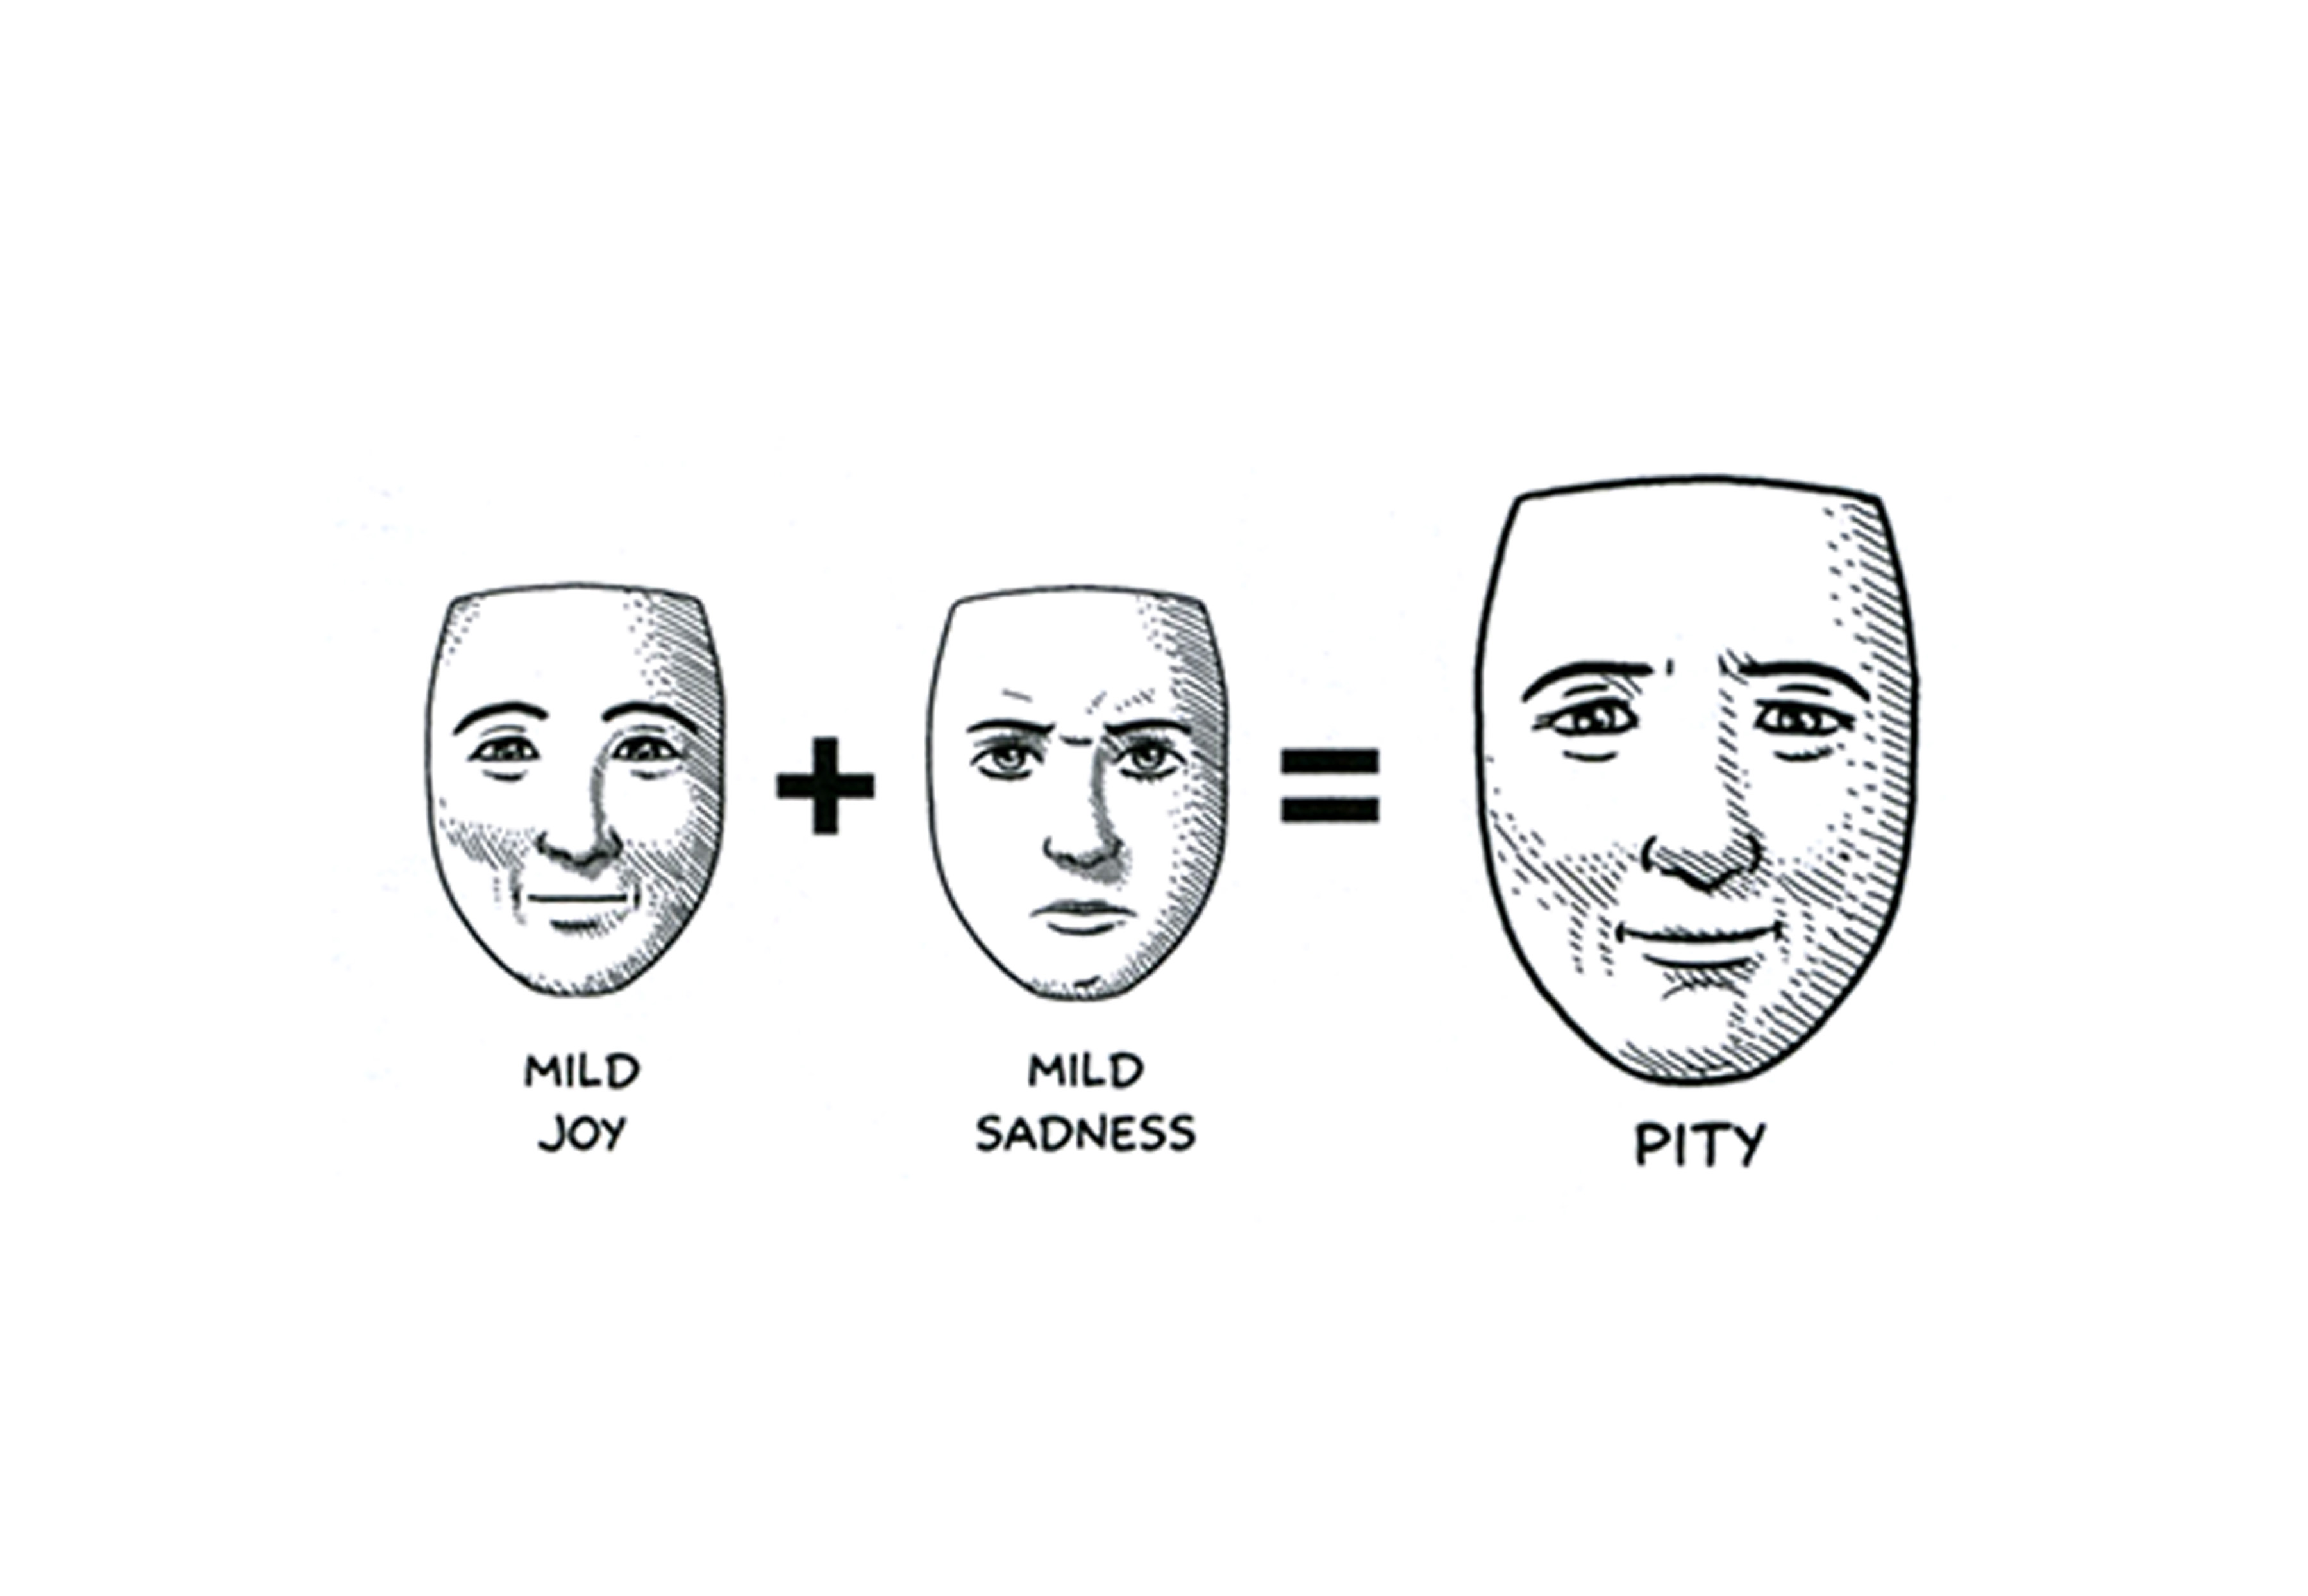
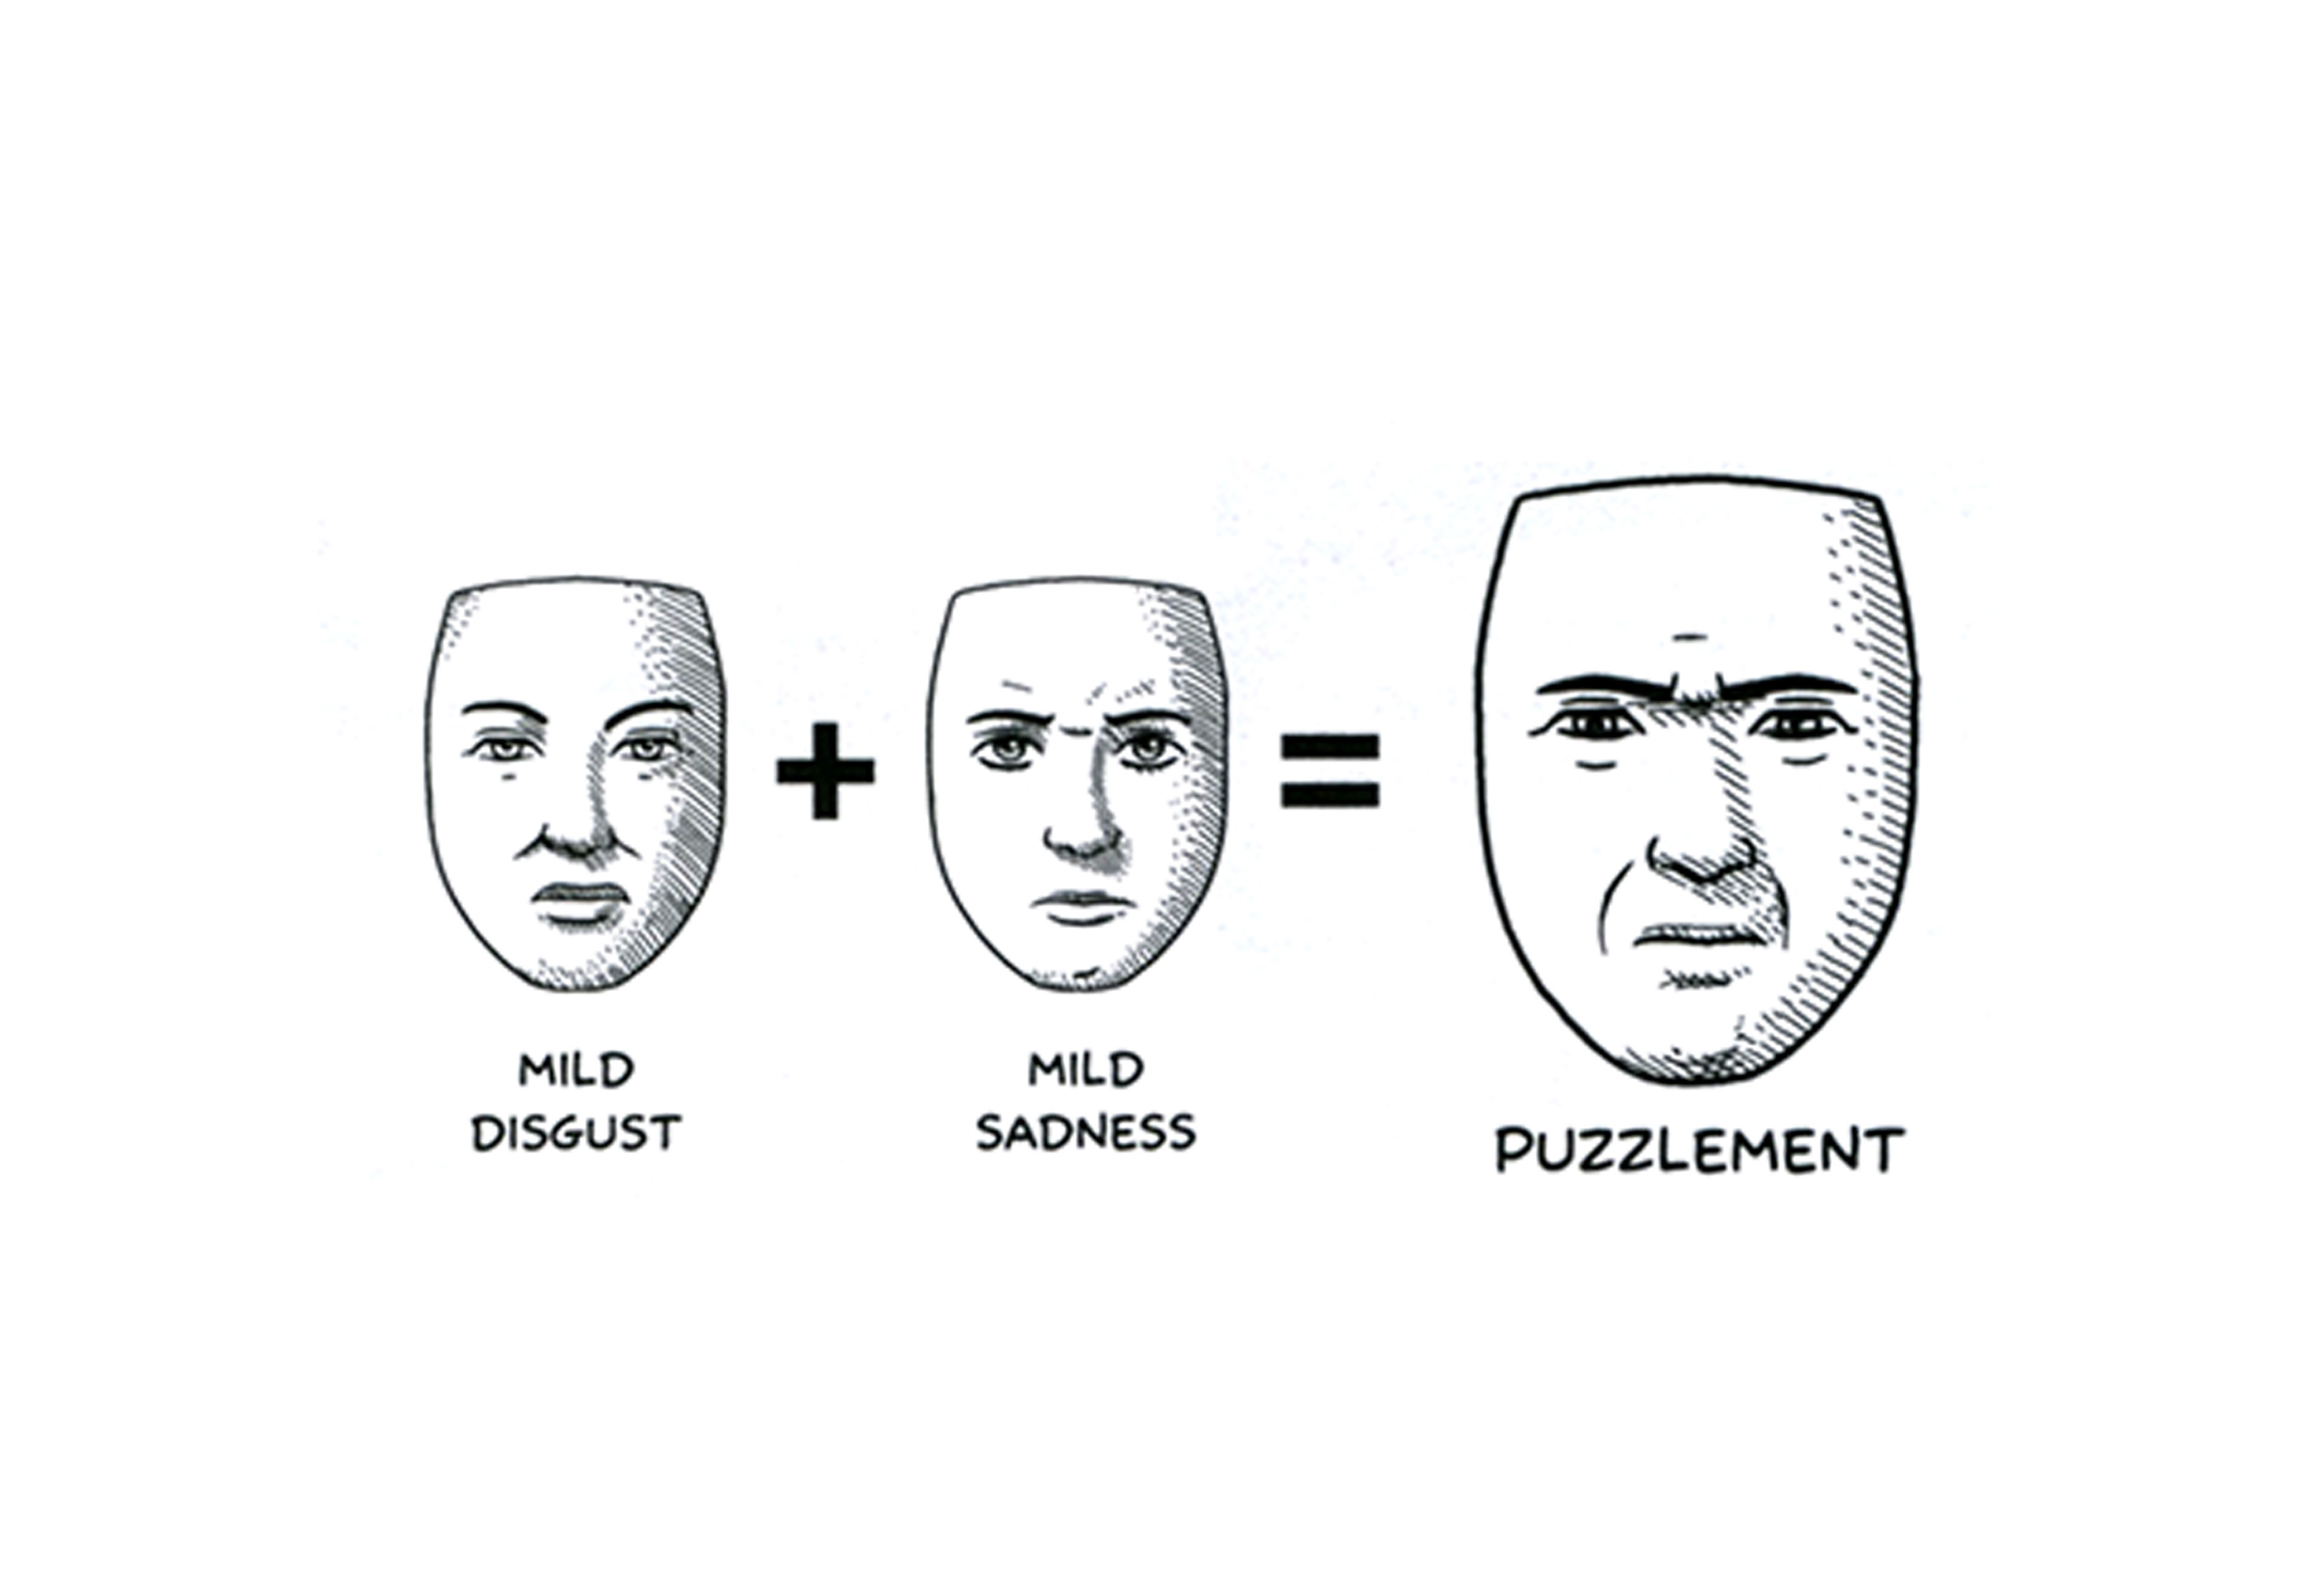
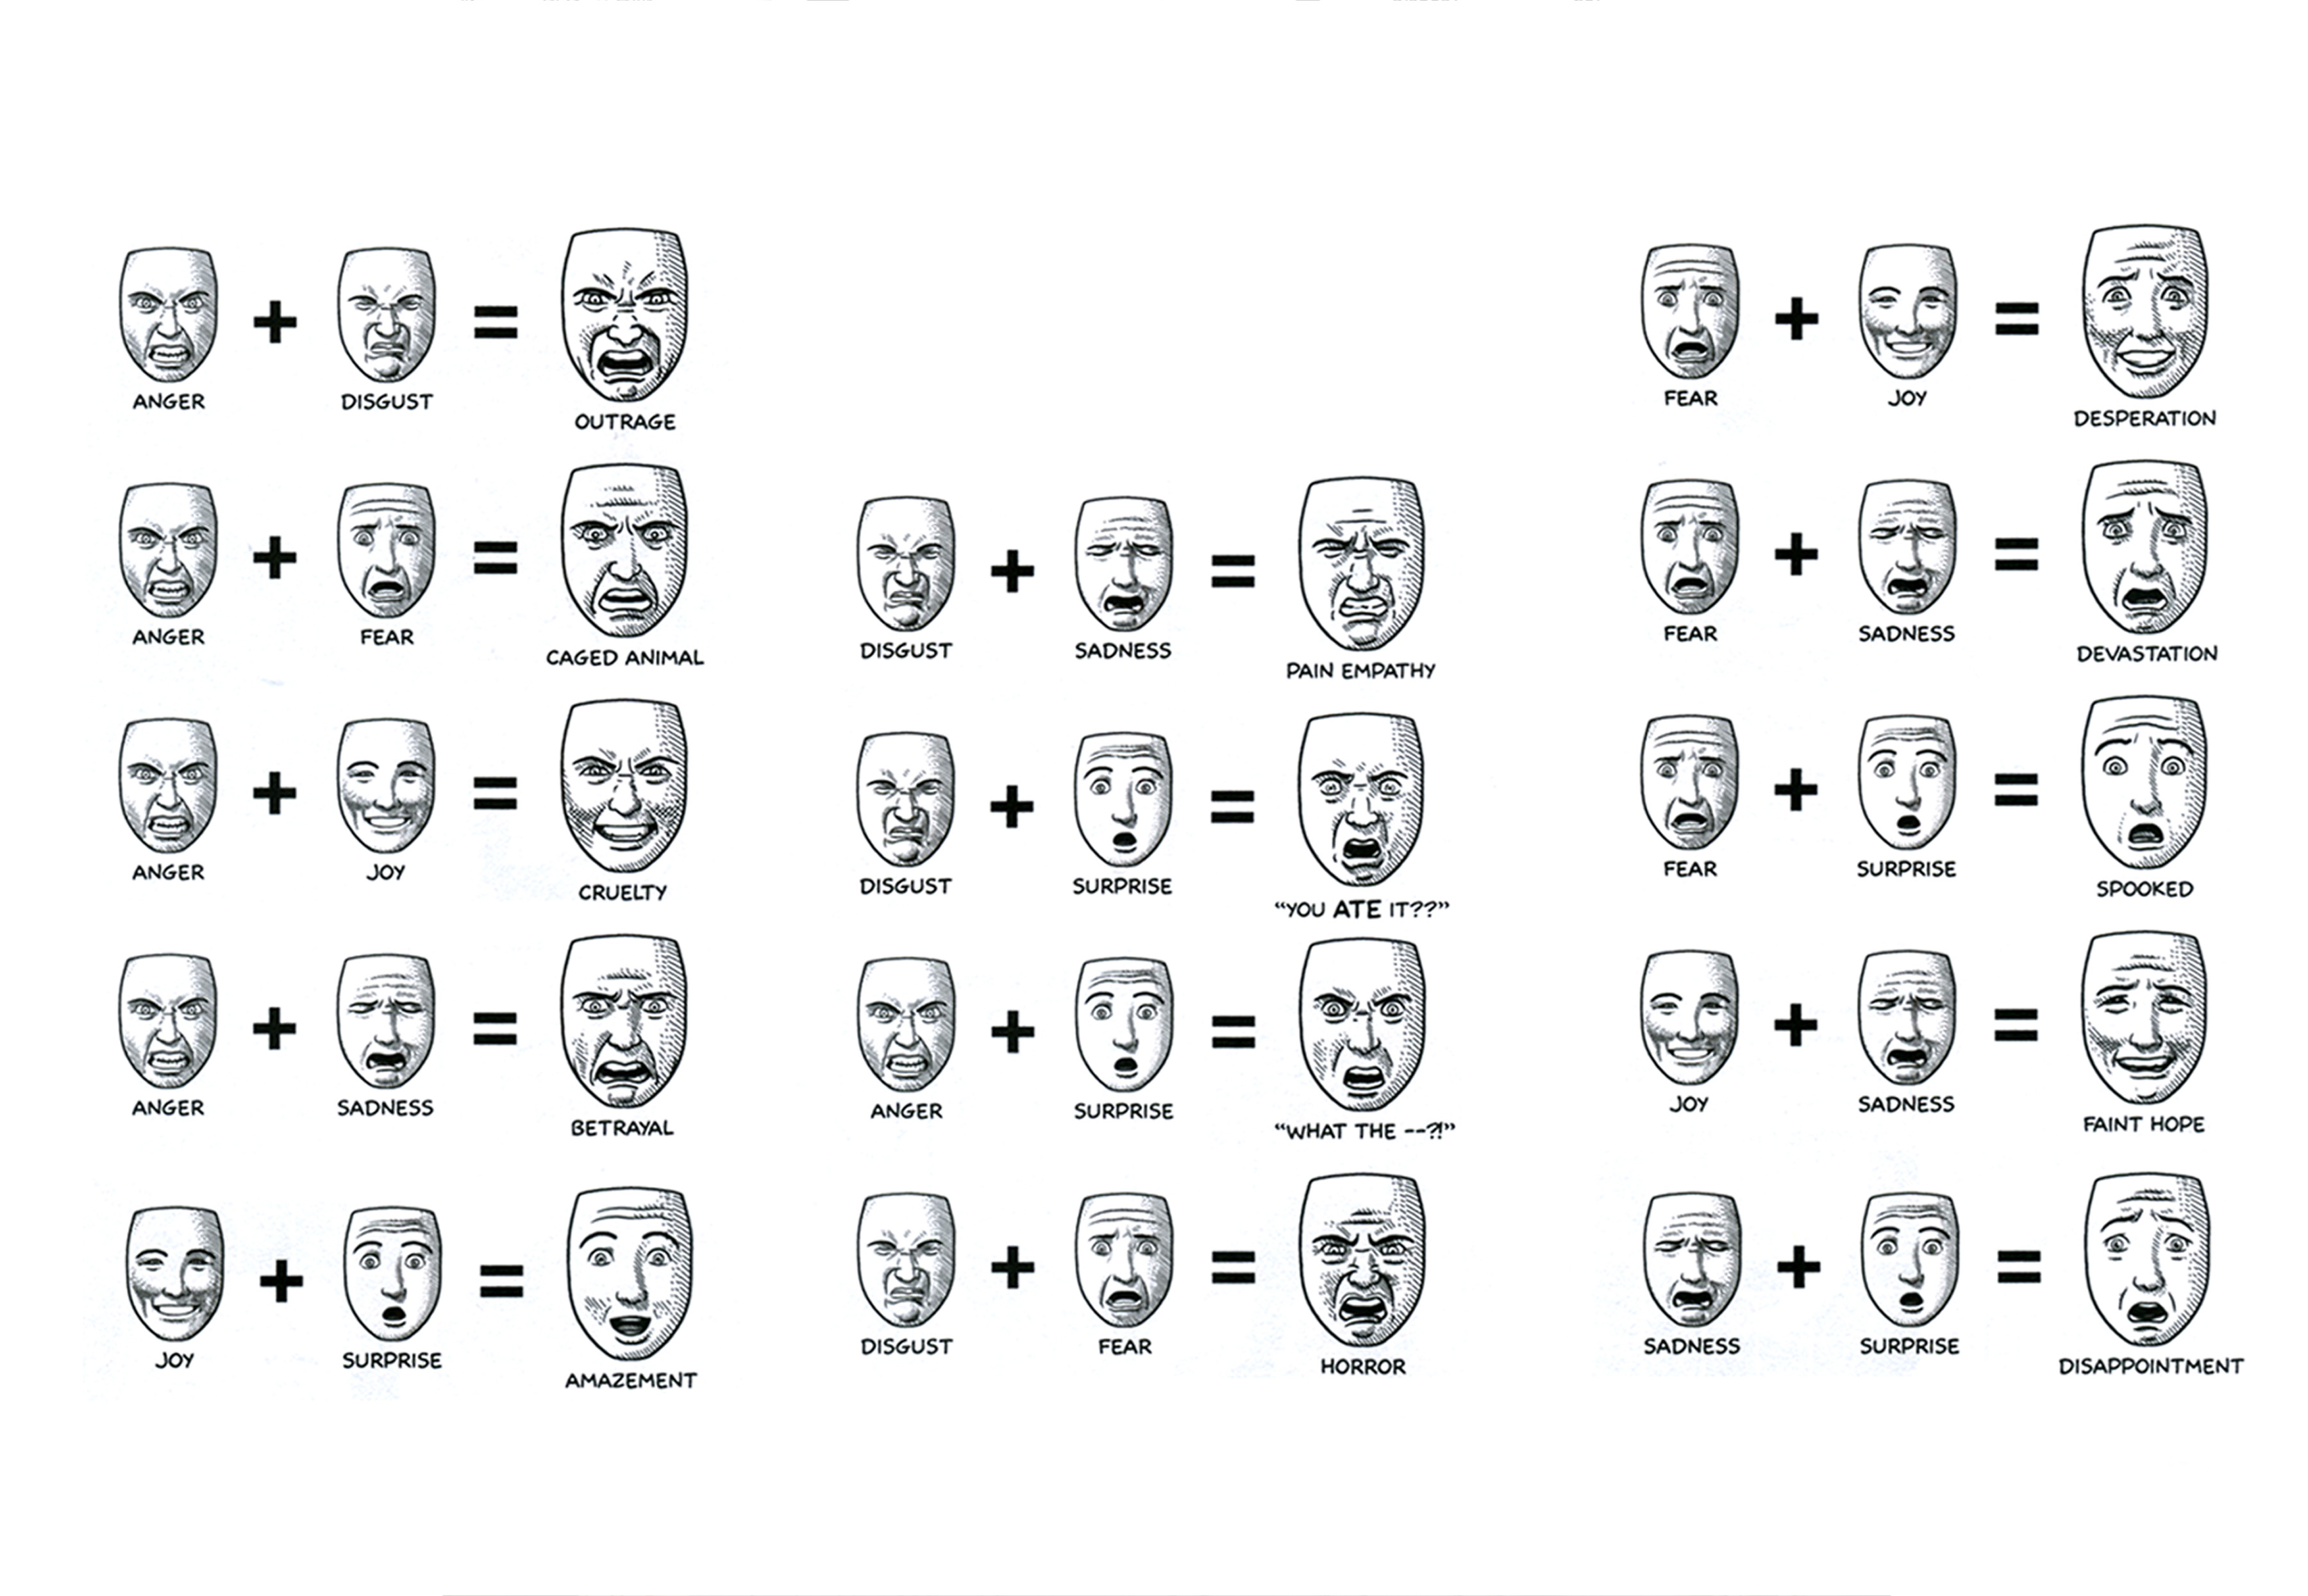
Expression Sheet: Next, I'd like you to create an Expression Sheet. This is what animators use to explore the emotional range of a character. For this part of the assignment I'd like you to draw a bit larger. Without the benefit of arms legs and facial features, create a drawing for each of the six basic expressions in Scott McLoud's example below.
Work on a single layer in in Harmony with each drawing on a different frame. You can use onion skin tool to maintain form and position. When you are finished drawing the six images should animate from one pose to the next. Take a look at this video on how to use Harmony to create multiple poses. Disney Animator Demos Character Animation Basics
Finally, use the select tool to copy, paste and arrange your expression drawings within the camera view on a single frame in the timeline and export a layout image at 3860 x 2160 (200%).
When your finished, use the select tool to arrange your pose drawings within the camera frame and export a layout image at 3860 x 2160 (200%) and then post it to the Discord #floursack channel.
File Name: simpsonB_expressionSheet.jpg
3. SIMPLE ANIMATION - KEYS, BREAKDOWNS AND INBETWEENS
Of the 6 Key poses, we will be choosing three to animated from one pose to the next by adding Breakdown drawings and inbetweens. Choose three that stand in contrast to each other.
Workflow:
1. Keys - Choose three poses that you would like to create motion between and line them up on a single layer in your timeline on seperate drawings. You can do this by either redrawing the poses or selecting the drawings, copying (cntrl C) and pasting (cntrl V) them onto seperate drawings on the timeline.
Class Demo: Floursack - Keys and Breakdowns - 2:16:2021
2. Breakdowns - Breakdown drawings define the path of motion from one Key to the next (arcs). First, make room on the timeline for the Breakdown drawing by extending the exposure of your first key pose (shift =) and creating a new drawing on that extended frame. Next, turn on the Onion Skin tool so you can see the Key poses on either side. Then draw a Breakdown drawing that helps describe a dynamic path of action (or Arc). Do this again to connect the second and third poses. Use F & G keys to flip your drawing to see how they animated. You should have strong fluid ares between your Key drawings.
3. Model Check - Before moving to the next stage, you may want to refine your Keys and Breakdown drawings to make sure they reflect the anatomy (or Model) of your original character design.
Class Demo: Floursack - Breakdowns and Inbetweens - 2:18:2021
Inbetweens - The Inbetween drawing establish timing (ease-ins and ease-outs). Once again make room on the timeline for the new drawing by extending the exposure of your first key pose (shift =). Then create a new drawing on that extended frame. Use the Onion Skin tool so you can see the drawings on either side. Then draw an Inbetween drawing exactly in the center, paying close attention to following the motion arcs.
Stephan Leeper - Central Michigan University 2021